The ProPlanner app for tablet, which you can easily download from the relevant store, allows you to check out a vehicle easily.


After logging into the app (username and password are the same as the ones you use for ProPlanner itself), you go to the following screen:
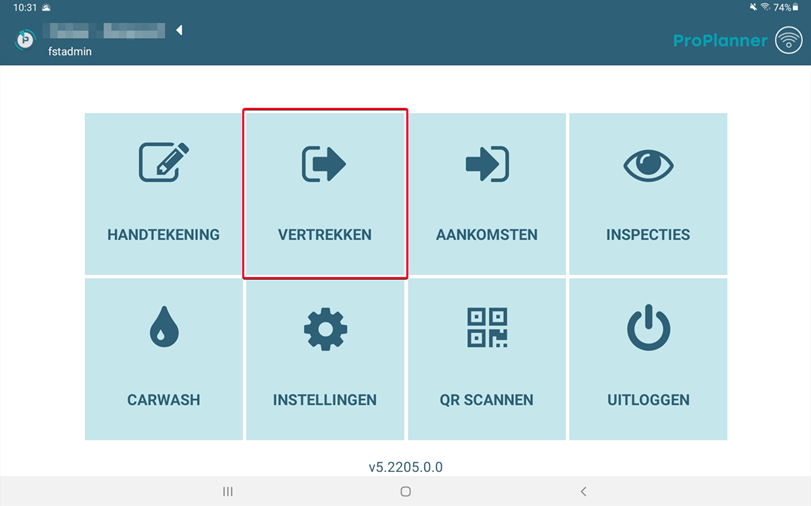
When you click the "Check out" option in this screen, a list of contracts ready to check out is shown. By default, this list will only show the contracts that need to be checked out today. However, you can change this by unchecking "Today only" (1). When you do so, it will show all contracts that need(ed) to be checked out in the period:
- That started 30 days ago
- That ends within 5 days in the future
You can have these default settings (for the "Today only" checkbox and the period) changed by contacting us at support@jumik.be.
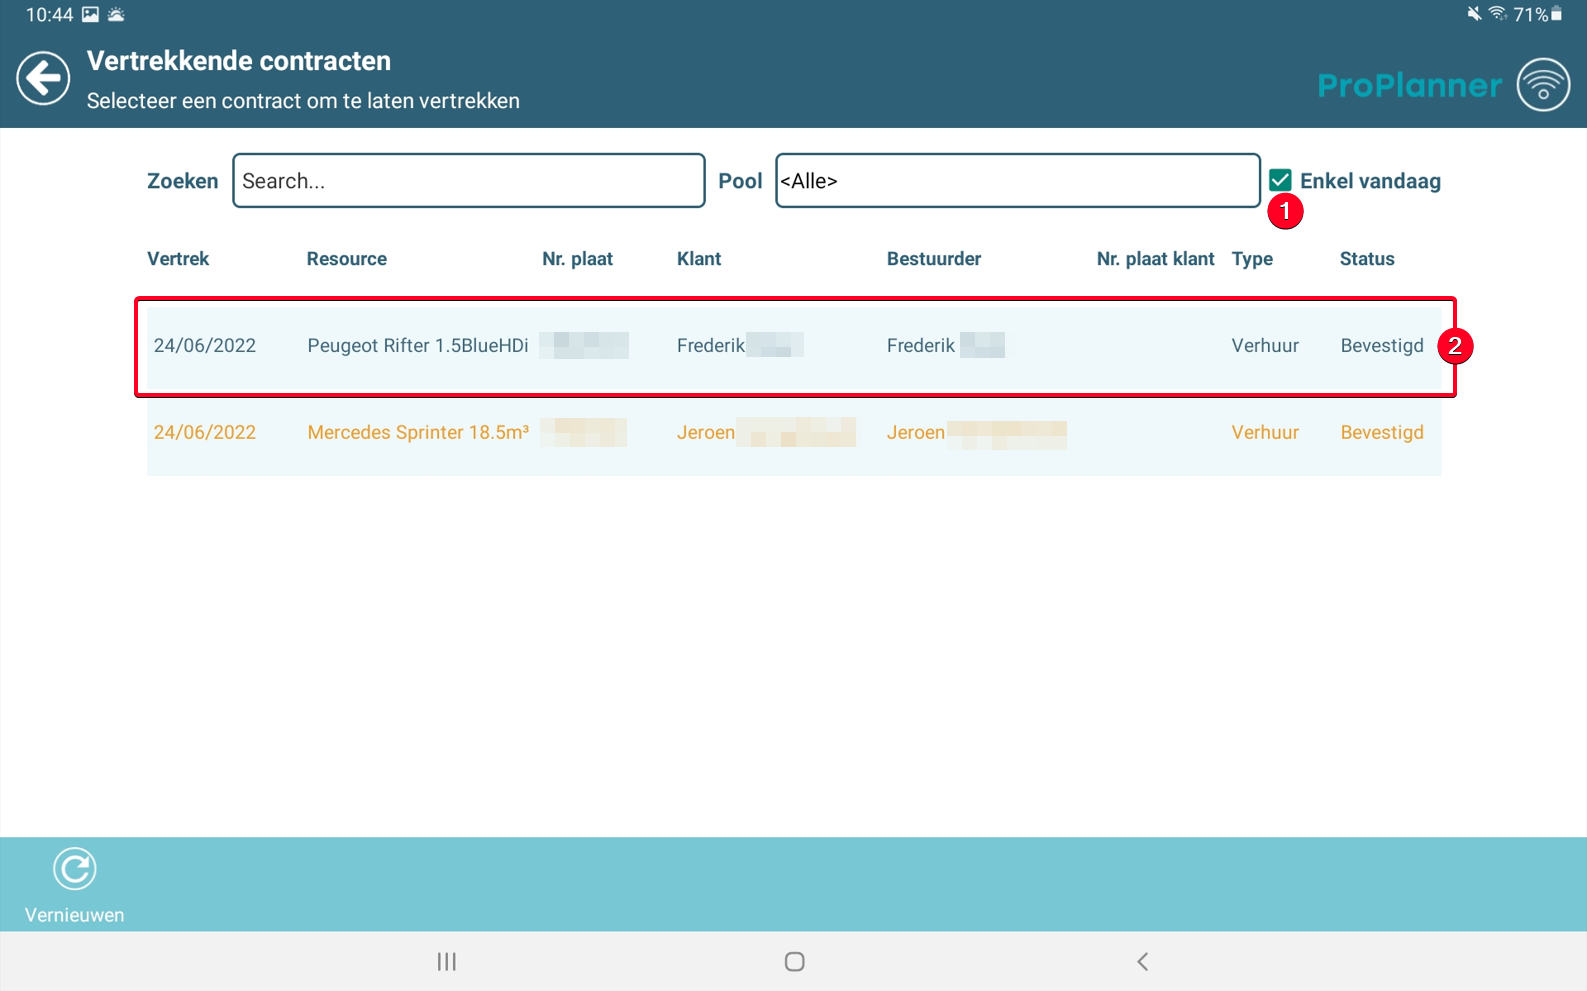
When you click the contract you want to check out on this screen (2), you will first see a summary of the contract in question, which also displays the memos and/or alerts on the contract:
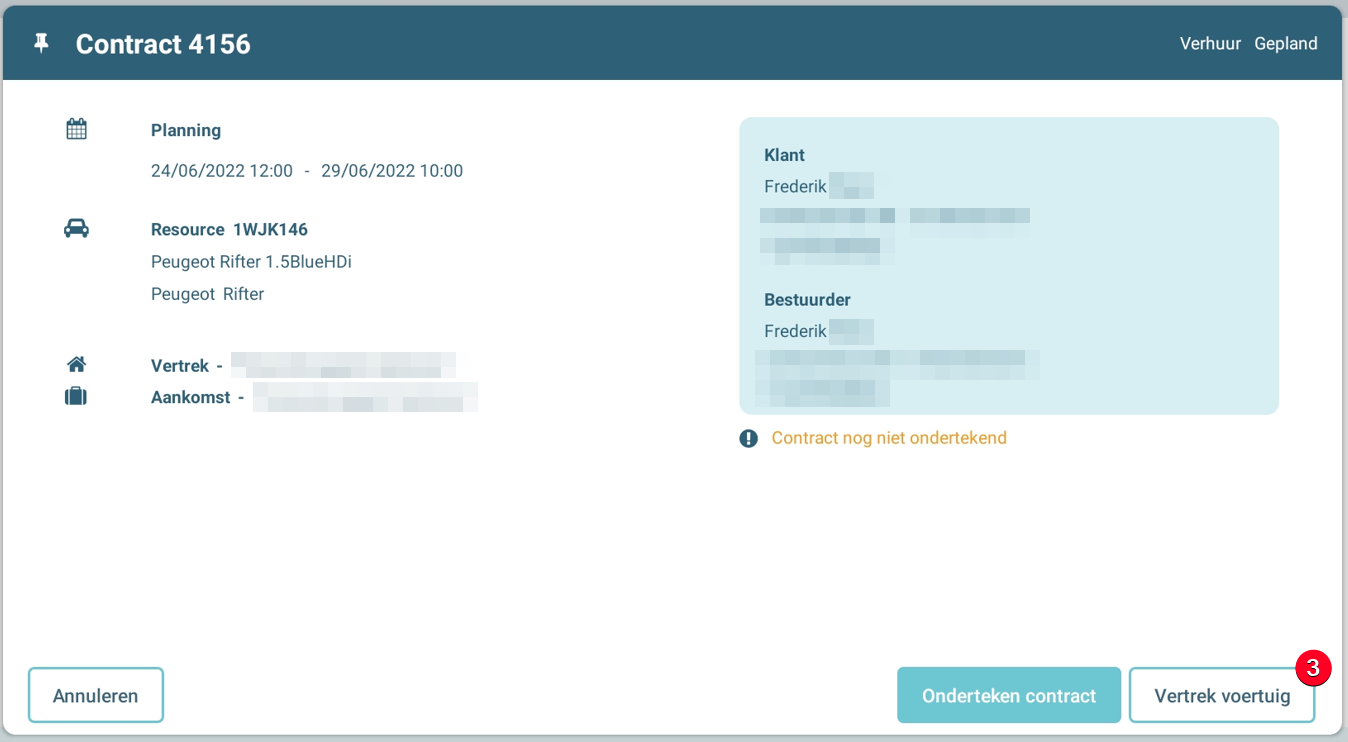
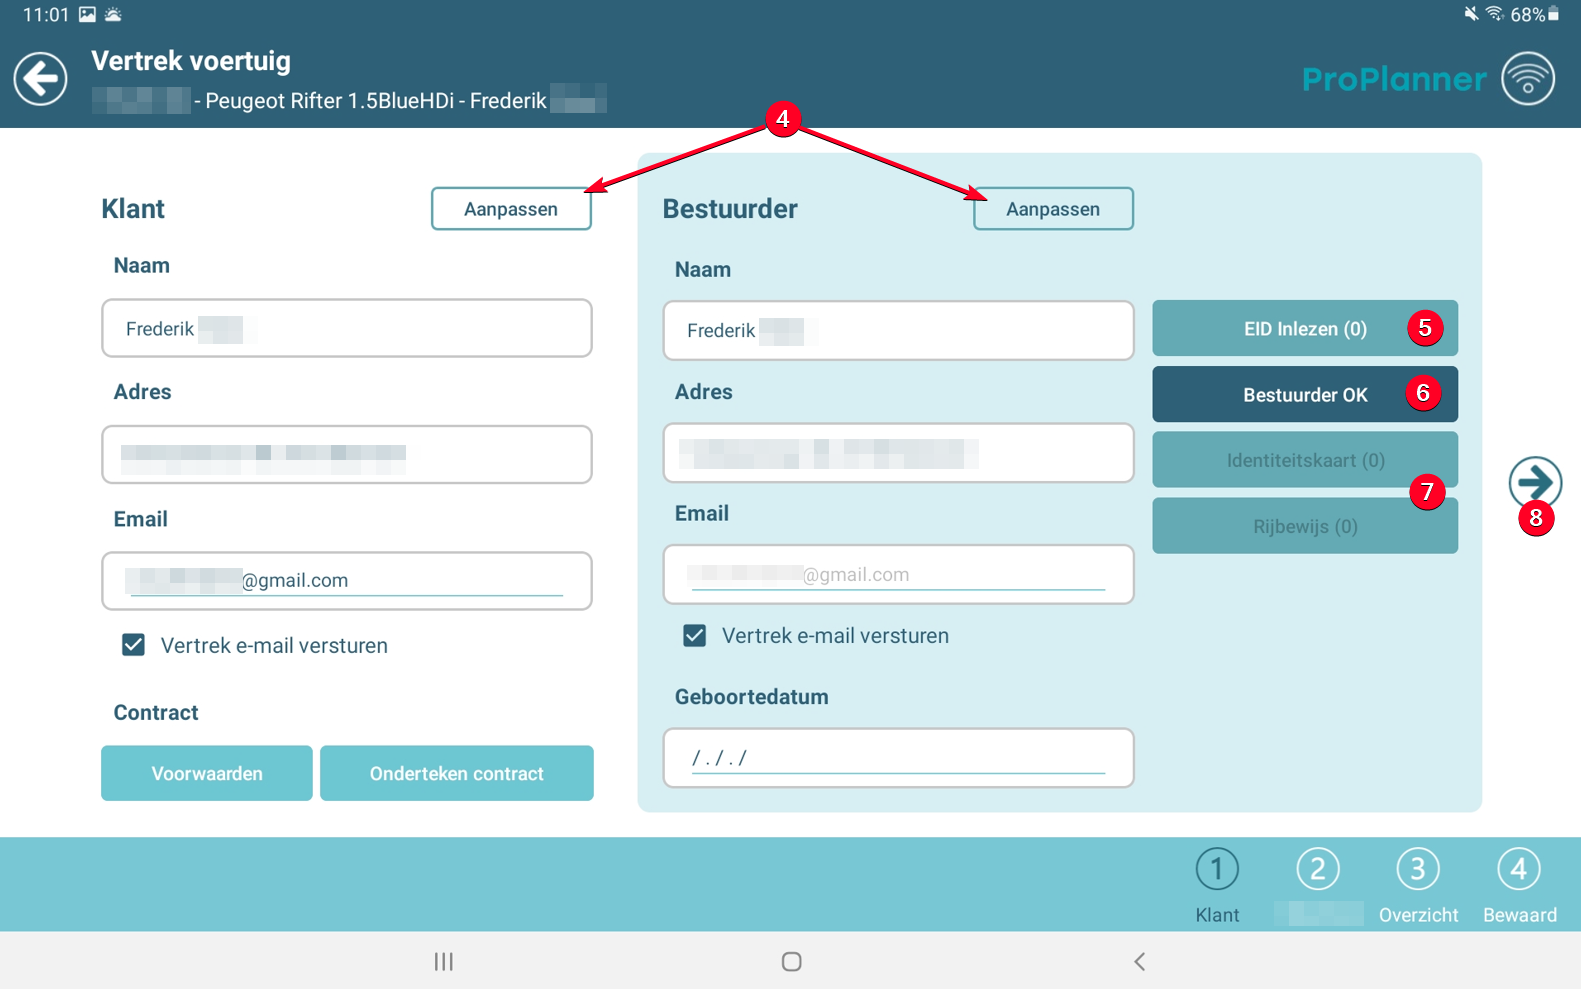
To check out the vehicle, click the "Check out vehicle" button (3), after which you will see a screen where you can check the customer and driver information. This screen offers you the following options:
- If necessary, you can modify the customer and/or driver (4). With this action, you replace the customer / driver on the contract with another customer / driver who will be searched in the database.
- You can read the driver's e-ID (5) (only possible if you have a bluetooth e-ID reader) with which you update the driver's data with the information on the e-ID.
- You can confirm the driver's data (6). This action is mandatory to continue in the process.
- Once you have confirmed the driver's data, you can also take a photo of the identity card and driving licence (7).
After leaving the above screen, connection to the Wi-Fi network is no longer required. This means that from this point on, you can go to the vehicle with the driver to complete the next steps.
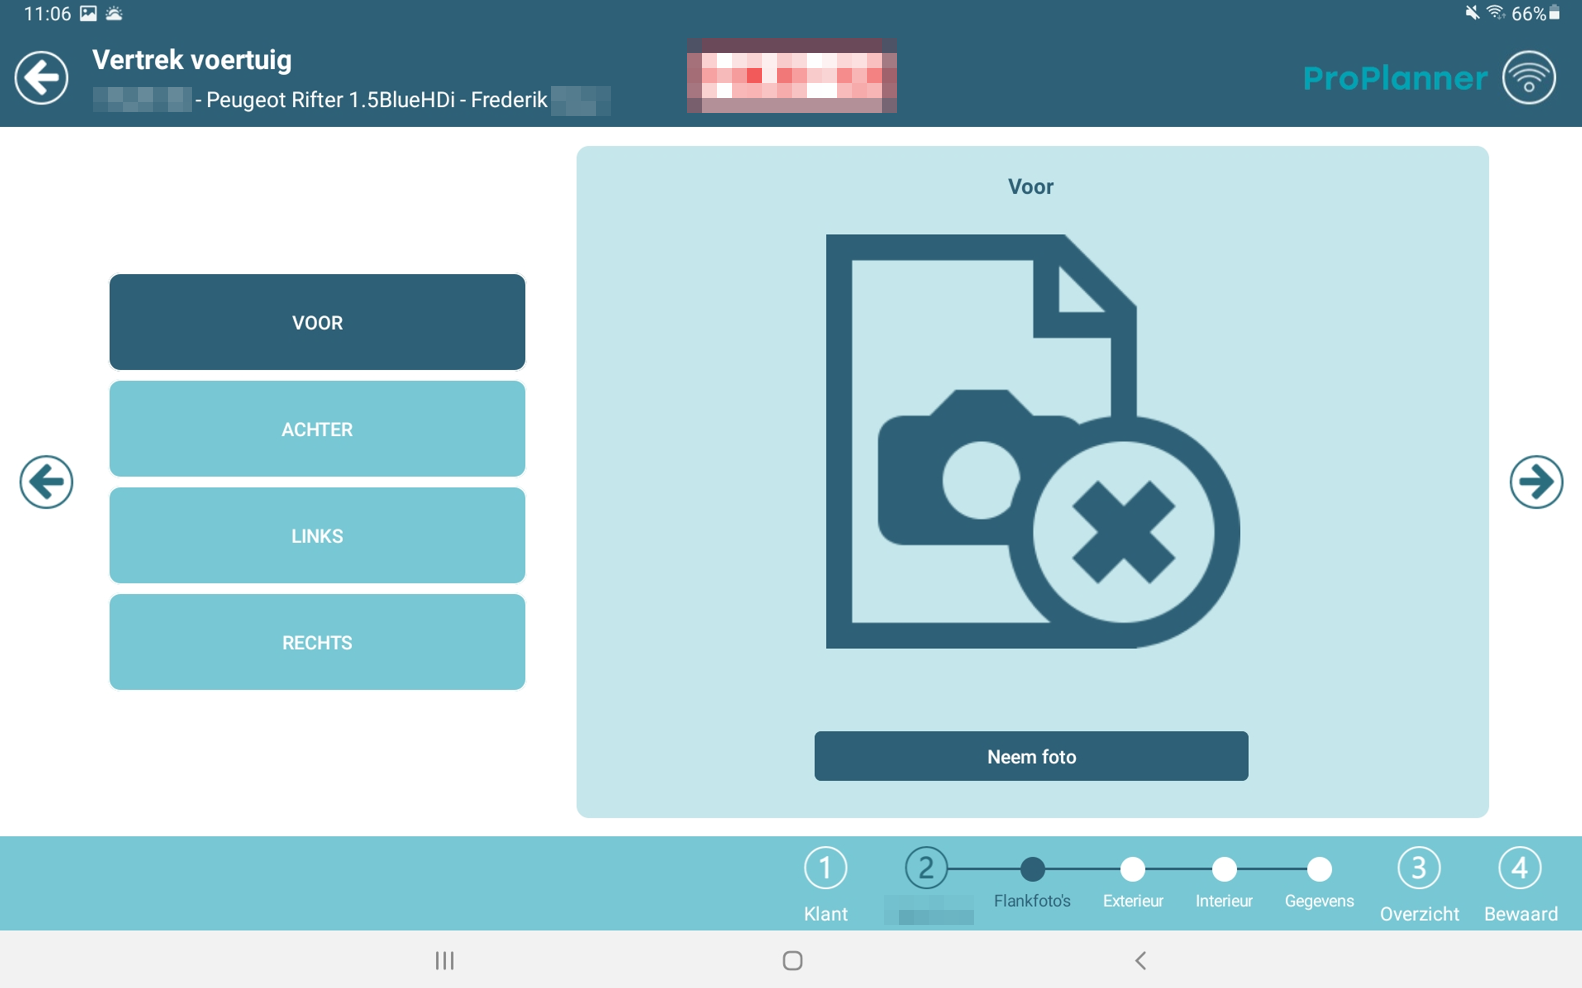
When you then click to the next screen (8), you enter the flow related to the information about the vehicle. The sequence of these screens depends on the configuration of your environment. This also determines whether certain screens are used or not. Below, an overview of the possible screens in this flow is provided:
- A screen to take flank photos: This screen allows you to take a photo of each side of the vehicle.
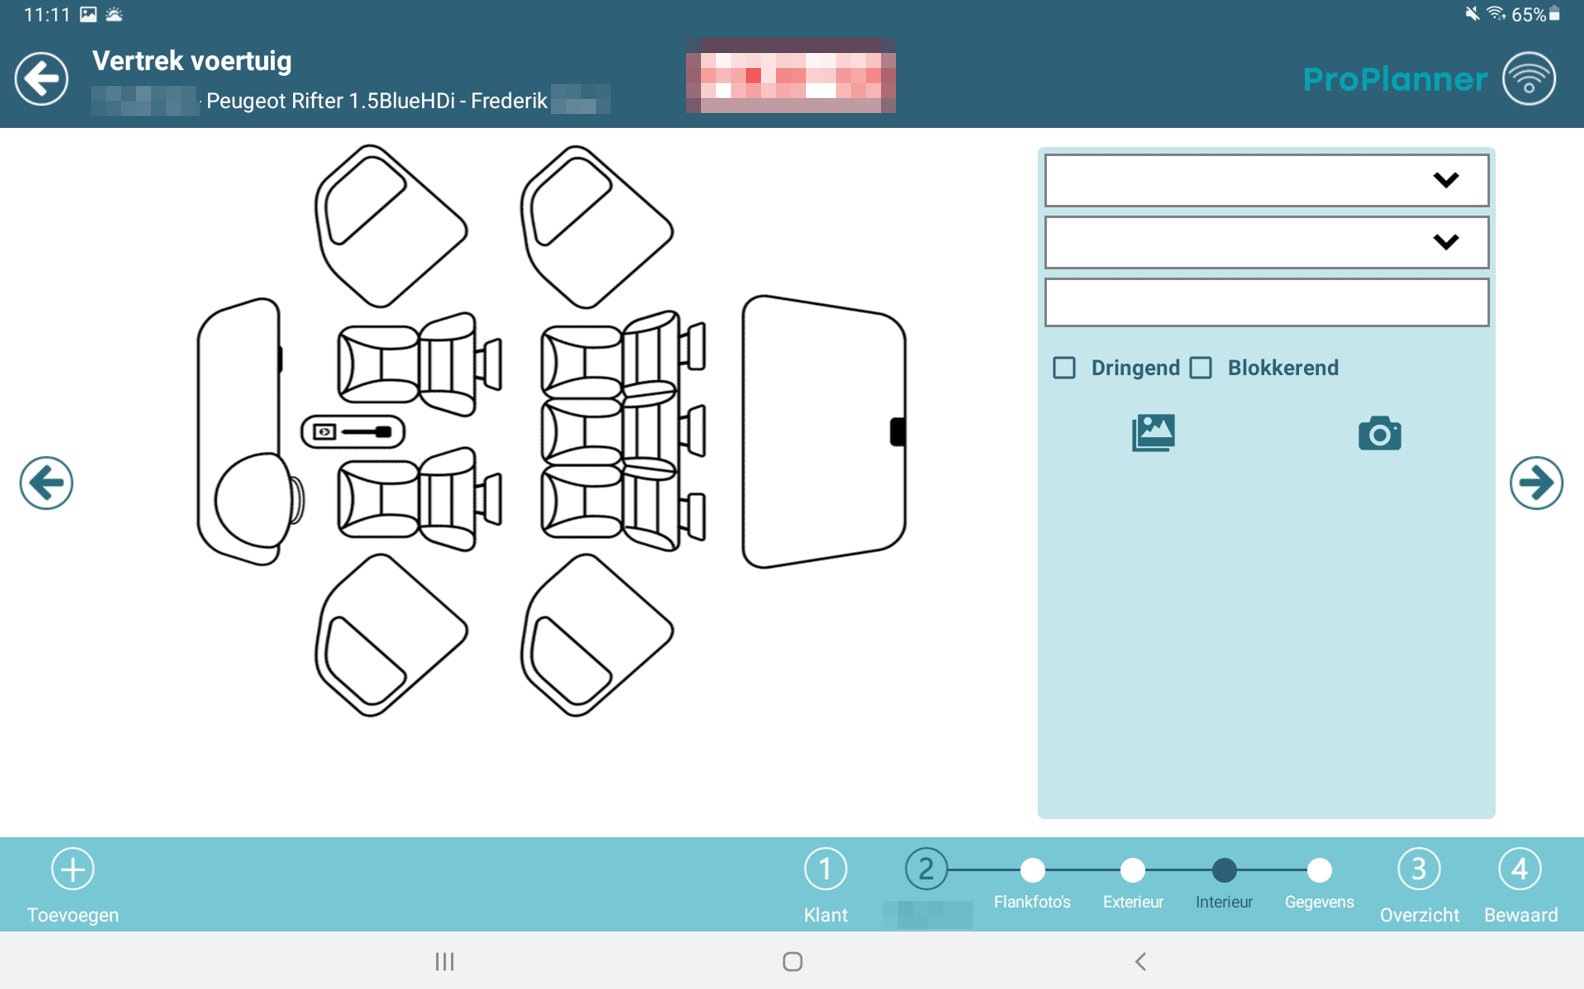
- A screen that allows you to record the damage on the exterior of the vehicle. In addition, this screen also provides an overview of the already known damage.
 To add new damage:
- Click the "Add" button (9)
- Move the purple ball to the location of the damage (10)
- Specify the damage (11)
- Take a photo of the damage (12)
- A screen that allows you to record the damage on the interior of the vehicle. Here also an overview is provided of the already known damage. This works in the same way as the exterior damage registration.
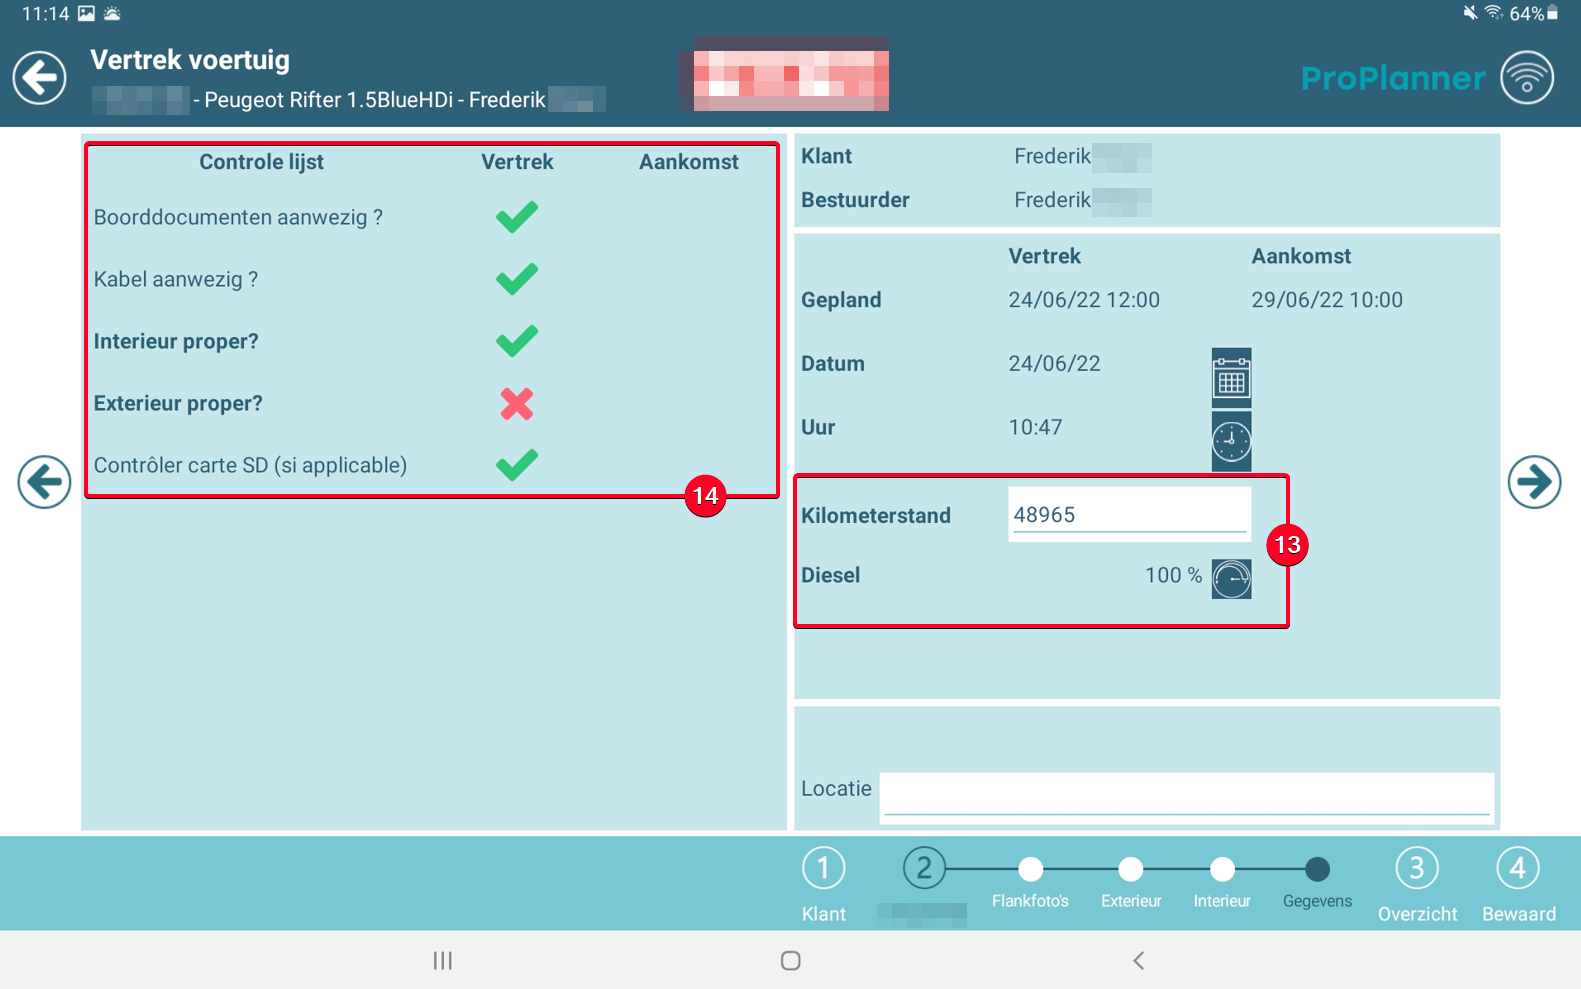
- A screen that allows you to record data about the vehicle (mileage, tank capacity) (13) and check off a checklist (14).
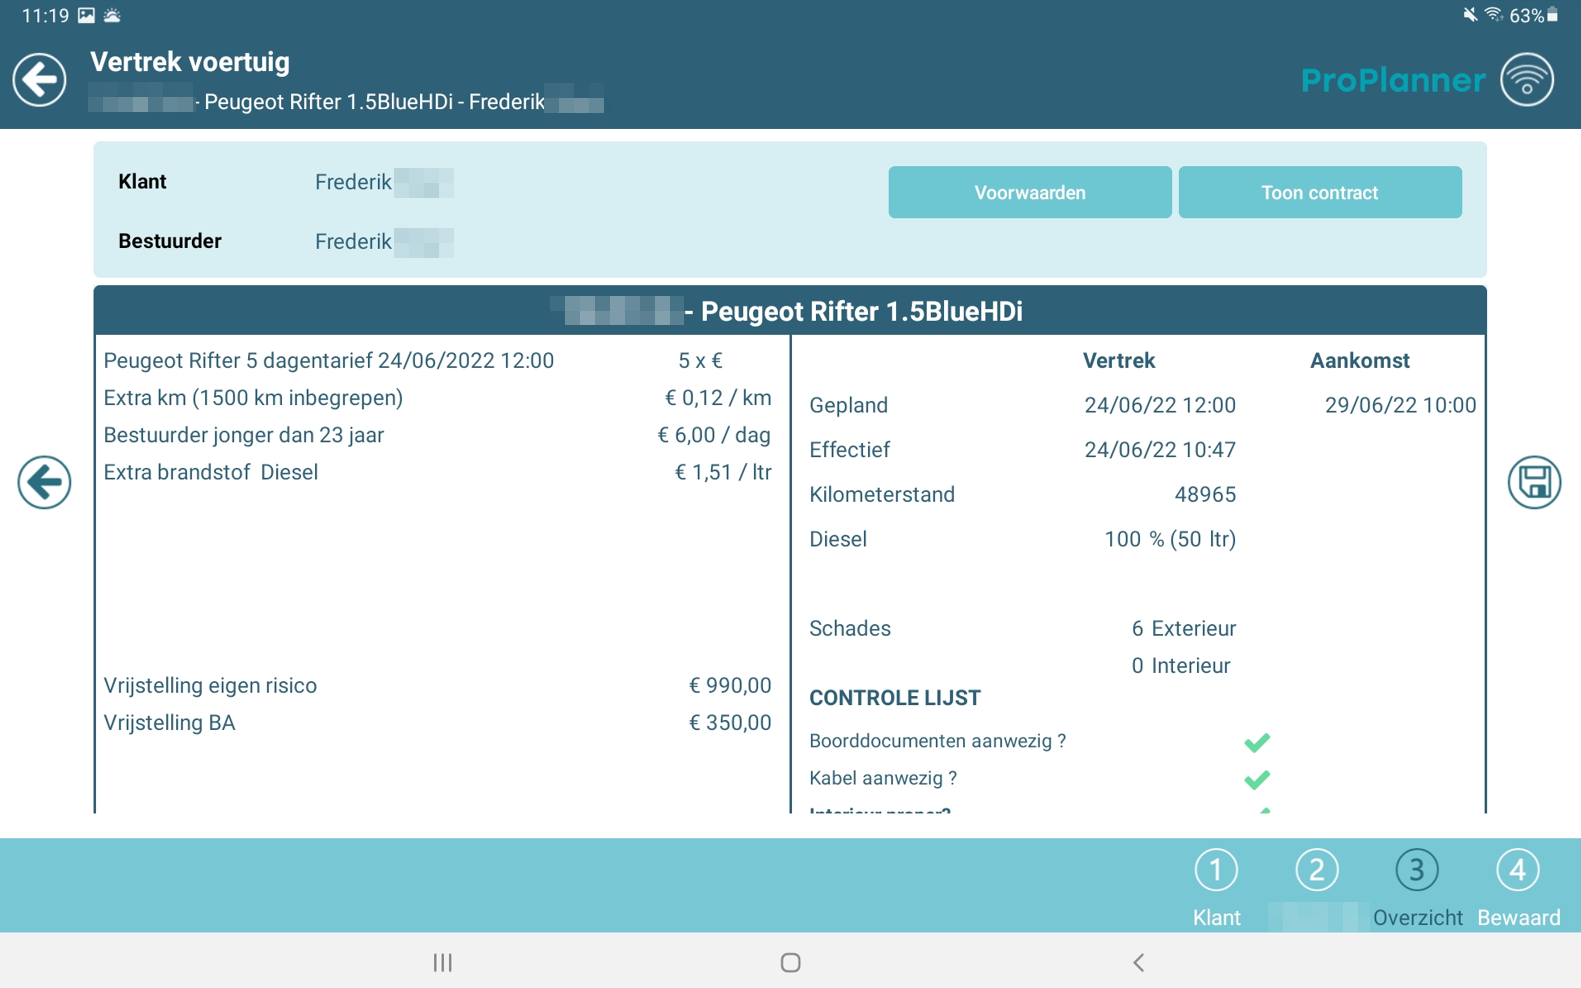
Finally, everything is summarised again on one screen, so that you can review this with the driver before they sign (15).
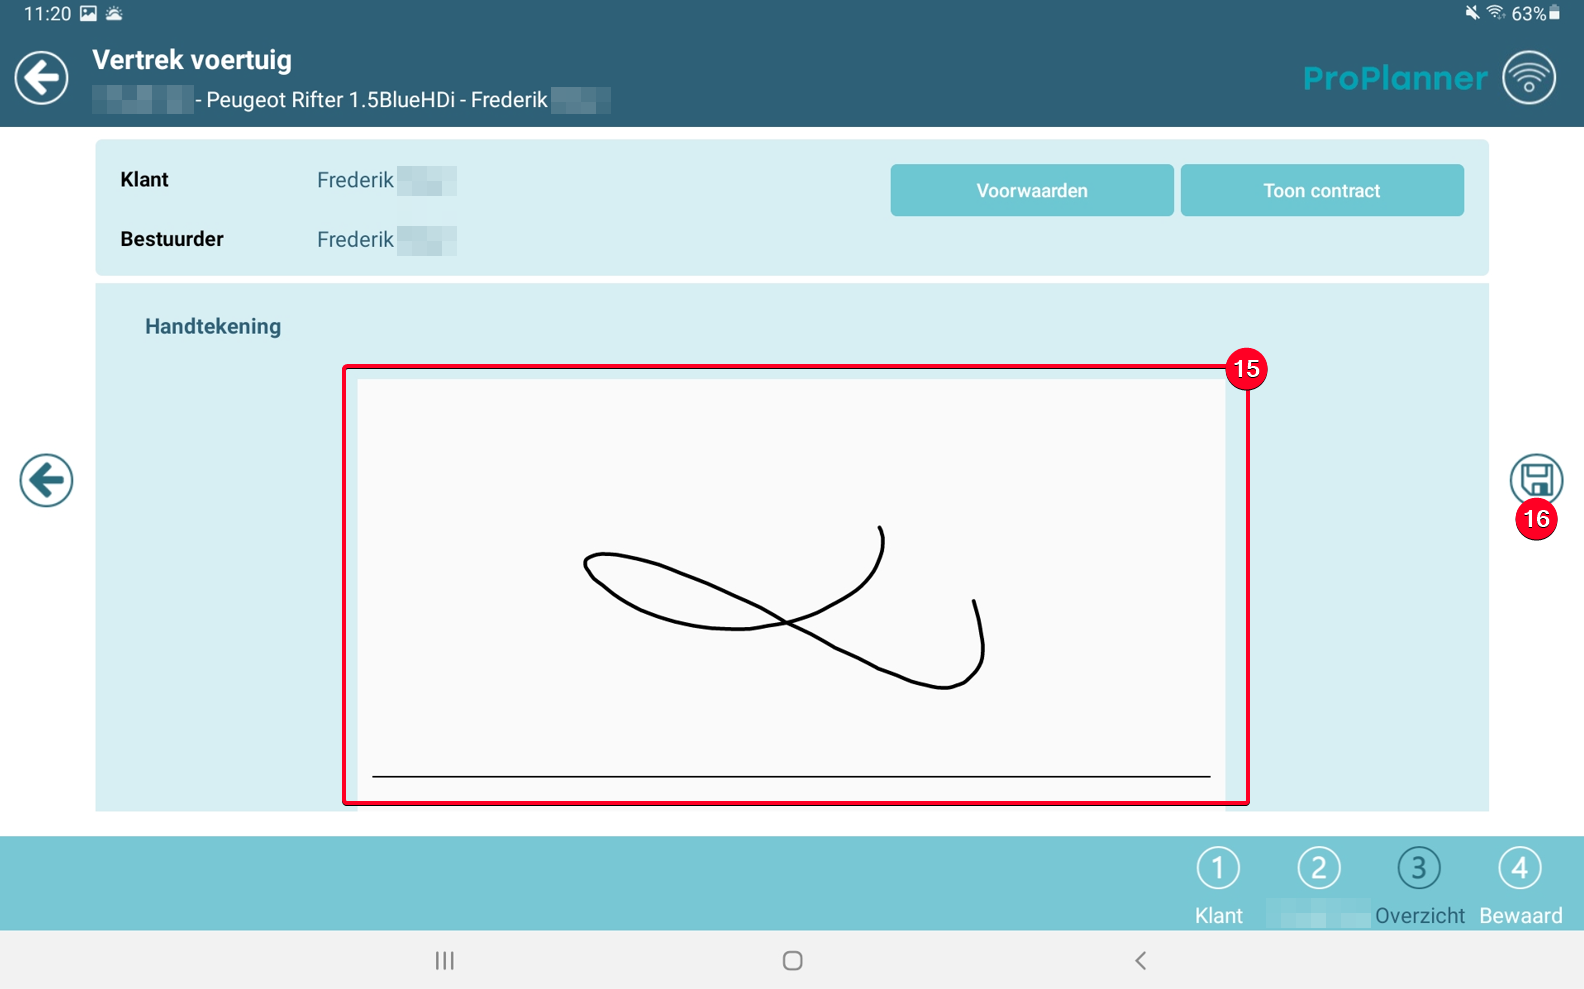
After the driver has signed, you can save (16) and the driver can drive away with the vehicle. At this point, the necessary documents will be sent to the driver's mailbox. These documents are:
- The contract signed by both parties
- The general terms and conditions
- The check-out document signed by both parties
- Possibly an overview of pre-existing damage on the vehicle
To save the check-out, connection to the Wi-Fi network is required again.