With the Marketing module in ProPlanner, you can effortlessly manage the entire content of your website. From visually displaying resources to managing categories and labels – everything happens from one central location.
What can you do with the Marketing module? The Marketing module offers you powerful functionalities:
- You make vehicles and other resources available for reservation via the website.
- Customers can easily view the offerings within clear categories.
- Visibility and availability are automatically synchronized with the settings in ProPlanner.
- You determine which resources are visible and/or bookable on the website.
You can find the settings for this module via the Management tab (1) and then in the Marketing tile (2). From there, you get access to all key parameters.

Setting colors and labels
In the Marketing module, you often work with labels to highlight or promote certain categories — for example, a label like ‘New in the range’.
To give such a label a recognizable visual style, you link a color to it. That color is then used to make the label stand out clearly on your website.
You can create or edit a color via the Management tab and then in the Marketing tile by clicking Colors. Once you have created a color, you can select this color when setting a label.
Labels can then be linked to a resource category.

Sets of properties
This allows you to bundle properties per category, for example 'Passenger car' with features such as 'Number of doors', 'Number of seats' and 'Transmission type'. You define the sequence and where these properties are visible yourself. You can also configure properties as filters so that customers can find what they are looking for more quickly.
You define the answers for these properties when creating a resource category.
Tip: Make sure you have first created colors, labels, and sets of properties before creating a resource category.

Resource categories
There are two ways to organize your assets (such as vehicles) on the site:
Grouped categories: Useful for large numbers of vehicles. For example, a category ‘Minibus’ with different models such as Renault Trafic and VW Transporter. This is clear and easy to maintain, as you only have to manage one photo and text per category.
Individual categories: Each vehicle has its own category. This gives models more visibility, but it does require more time as you need to add separate photos and texts for each vehicle.
You can also combine both methods, depending on what suits you best.
Creating and configuring categories
Do you want to add a category? Then go to Management > Resource categories and click + Add resource category. Here you should carefully choose at which level you add something. A parent category is actually a collective term without a direct product, such as 'Passenger cars'. Subcategories, on the other hand, are linked to a specific product, for example 'Audi A4'. Remember that for a parent category you do not check the 'Product' box, while for a subcategory you do.


Parameters & Settings per Resource Category
For each category, you can configure several key settings. For example, you can specify a standard price range (1), such as 'SUV 7-seater'. You also set the rate type (2); think of rental per day, week, or month. You can link a standard insurance profile (3), and also determine the minimum age and driving license requirements for drivers.
You also define up to when customers can make reservations without immediately choosing a specific vehicle, for example up to the 20th of the month (4). You can also set how many hours in advance reservations without an assigned vehicle may still be placed, such as up to 48 hours before departure (5).

Add translations
You have the option to add a title and description per category, also in other languages. This ensures that visitors see the correct information, even when they view the site in another language.

Upload photographs, videos and documents
You can set a main photo that is visible on the overview page. It is also possible to add extra photographs, such as images of the interior or the trunk. You can also add videos of vehicles, but this is optional.

Settings for website and app
You can specify per category whether it is active on the website. If necessary, you can also set an end date, for example for temporary actions. If you use the GoPlanner module, you can also indicate whether a category is active in the app and within which period. You can also determine whether customers can pay in the app.


Linking vehicles to categories
You can use various criteria to link a resource to a resource category, such as price range, brand, model, transmission and fuel type, or you can search specifically for a particular vehicle. This way, you quickly create the correct links.


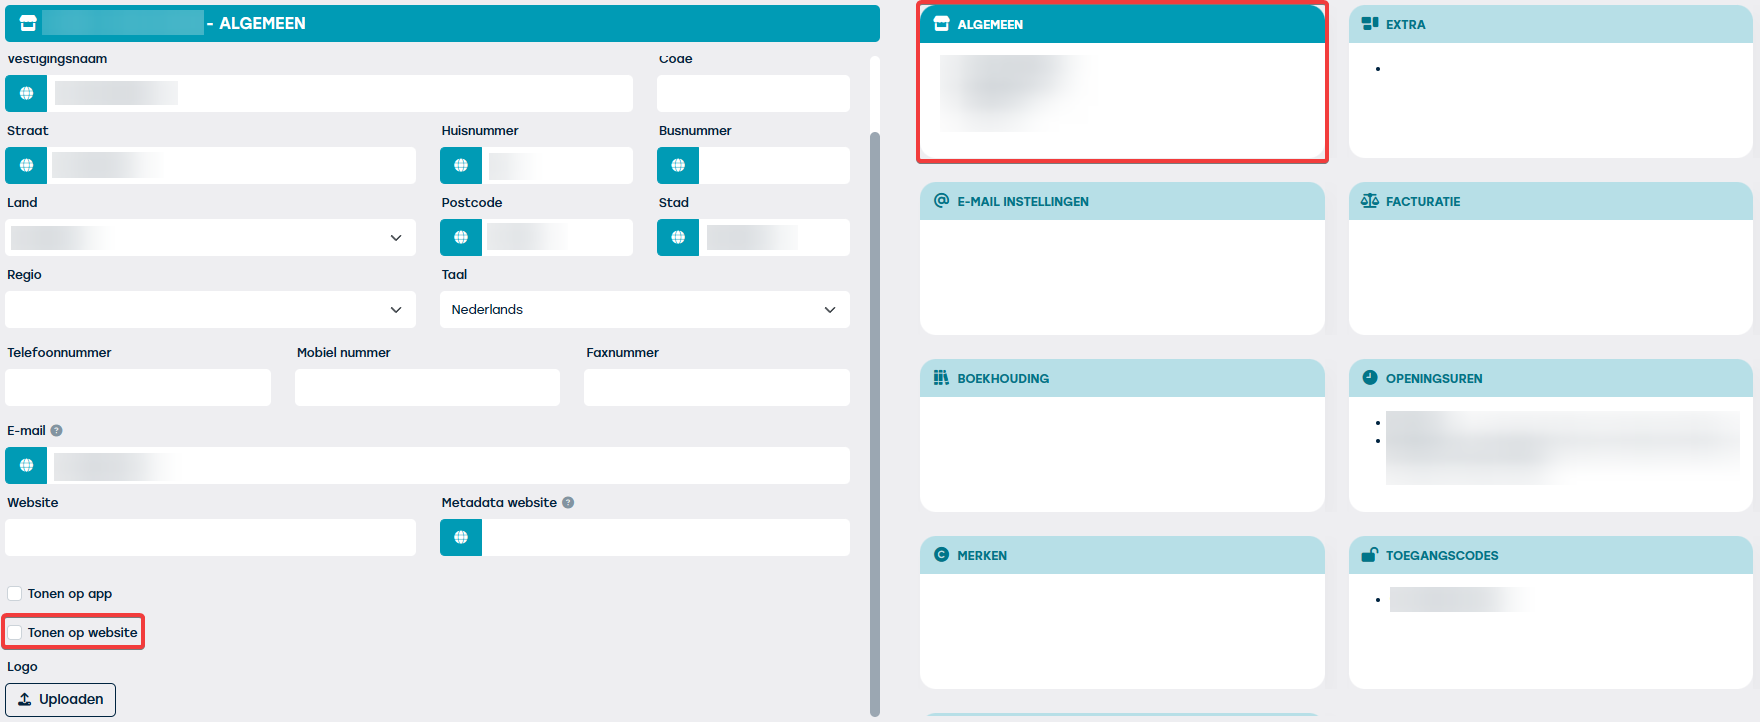
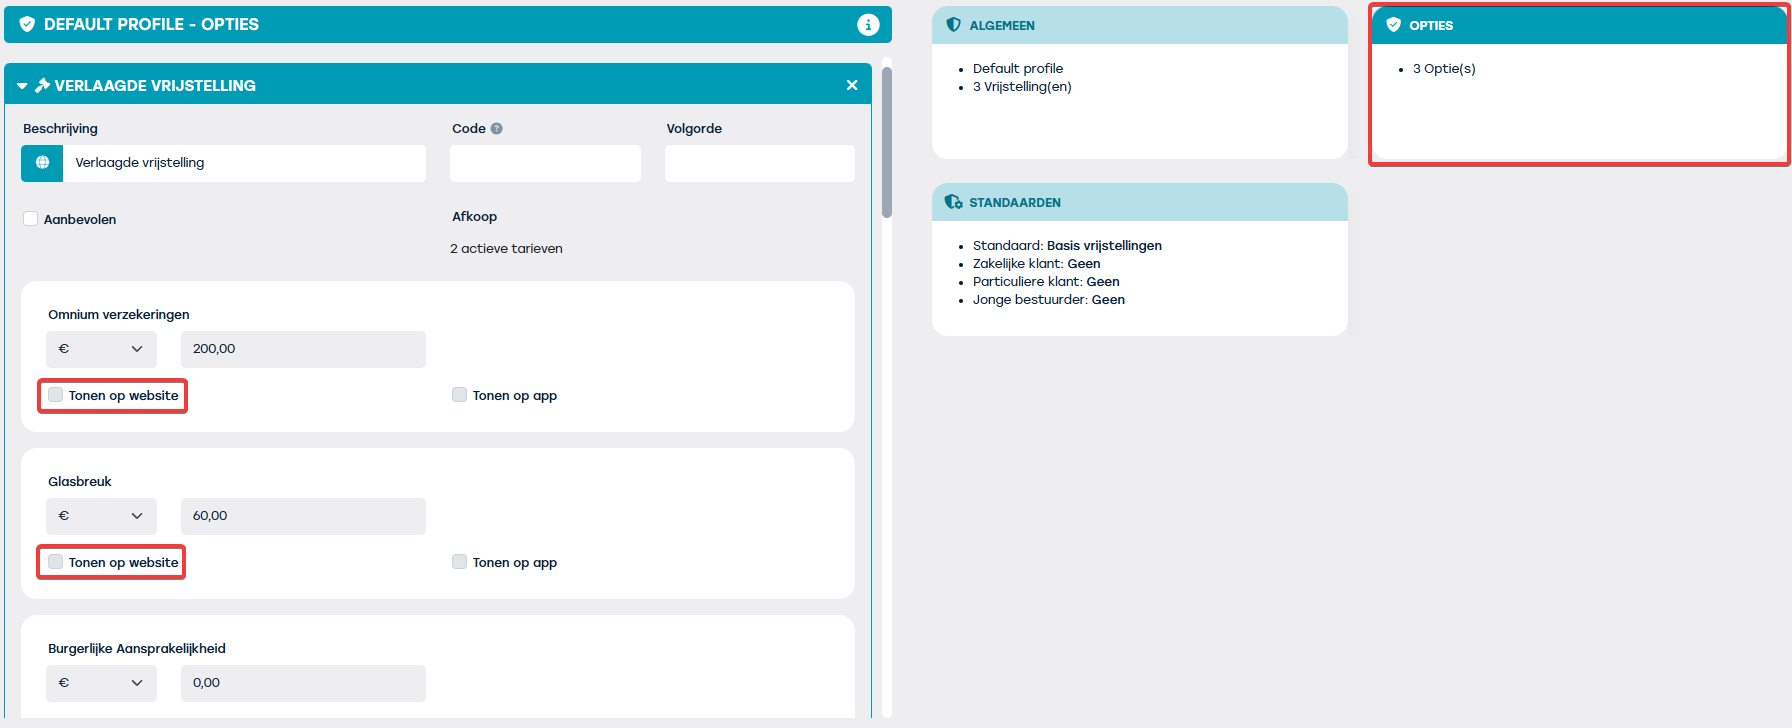
Make business units and insurance policies visible on the website
Make sure your business units and insurance profiles are visible on your website. You do this by ticking 'Show on website' under Management > Companies > Business unit > General. The same applies to insurance profiles, but then via Management > Insurance profiles.
Business unit:
Insurance profile:
Add properties, deposit and equipment
You can add previously created properties to a category. Think of, for example, 'Number of doors' or 'Transmission type'. You also set the deposit amount that applies to that category and you can add the standard equipment, just like with individual assets.
Book via the website
Reservations automatically enter your planning with the status ‘Draft’. You then decide whether to confirm them and whether to send a confirmation email to the customer.
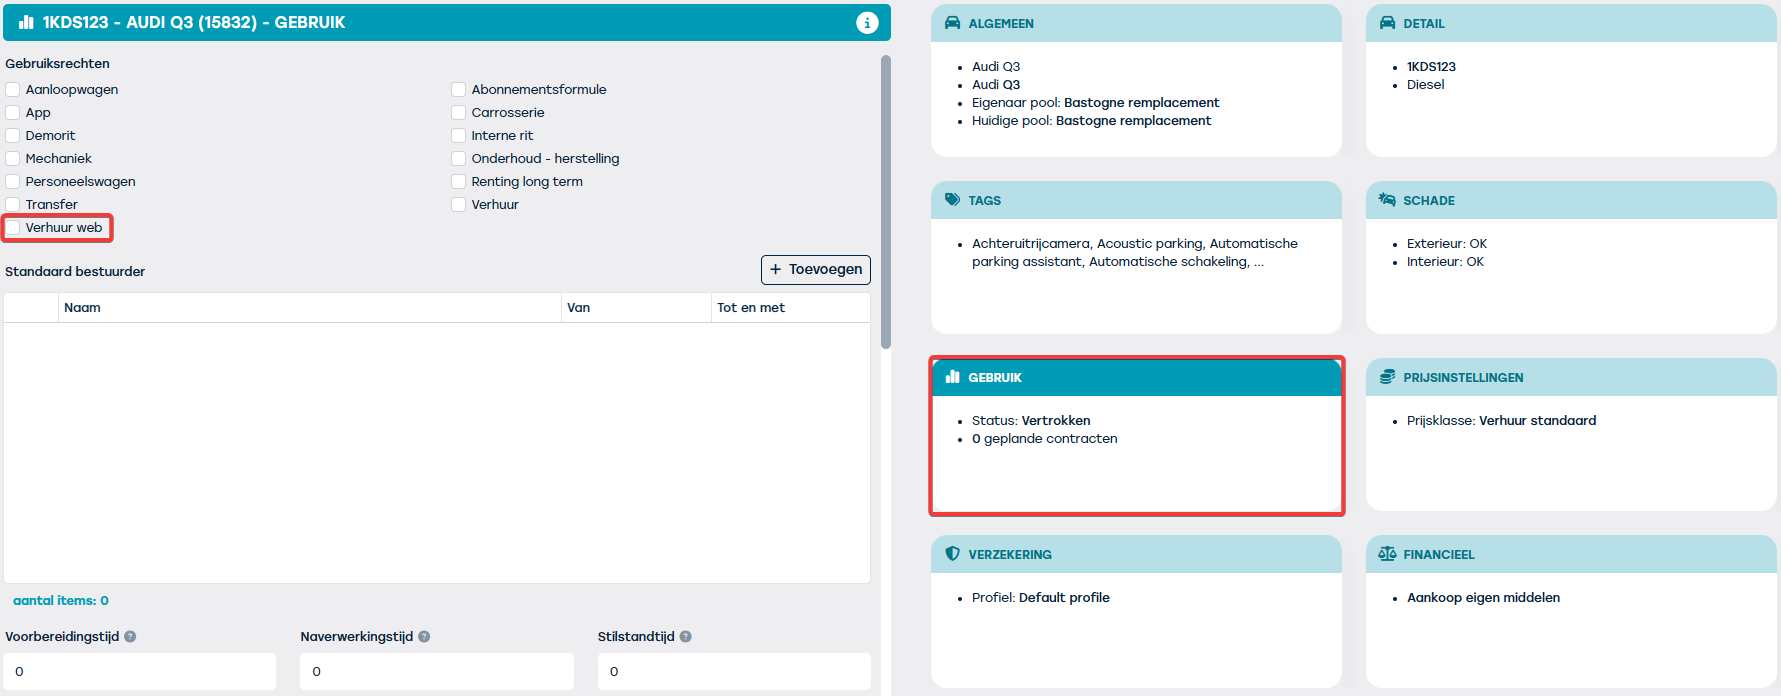
Important to remember
Don't forget to enable the rental type 'Rental web' for your resources. You do this via Management > Resources > Open Resource > Usage > Usage right. It is also possible to link resources directly from the ‘Marketing’ tab in the resource sheet.