In this video:
In this video, we will learn how to manage resources on the JLR Rent website.
First, it's important to know how the rental website works. The items that show on the website are actually not individual resources, but resource categories. However, since the JLR vehicles are often unique, every vehicle gets its own resource category.
This is why, when a rental vehicle is created in ProPlanner in the JLR environment, a new resource category is automatically generated.
- For cars, 1 resource category = 1 resource (vehicle)
- For accessories, 1 resource category = 1 or multiple resources
---
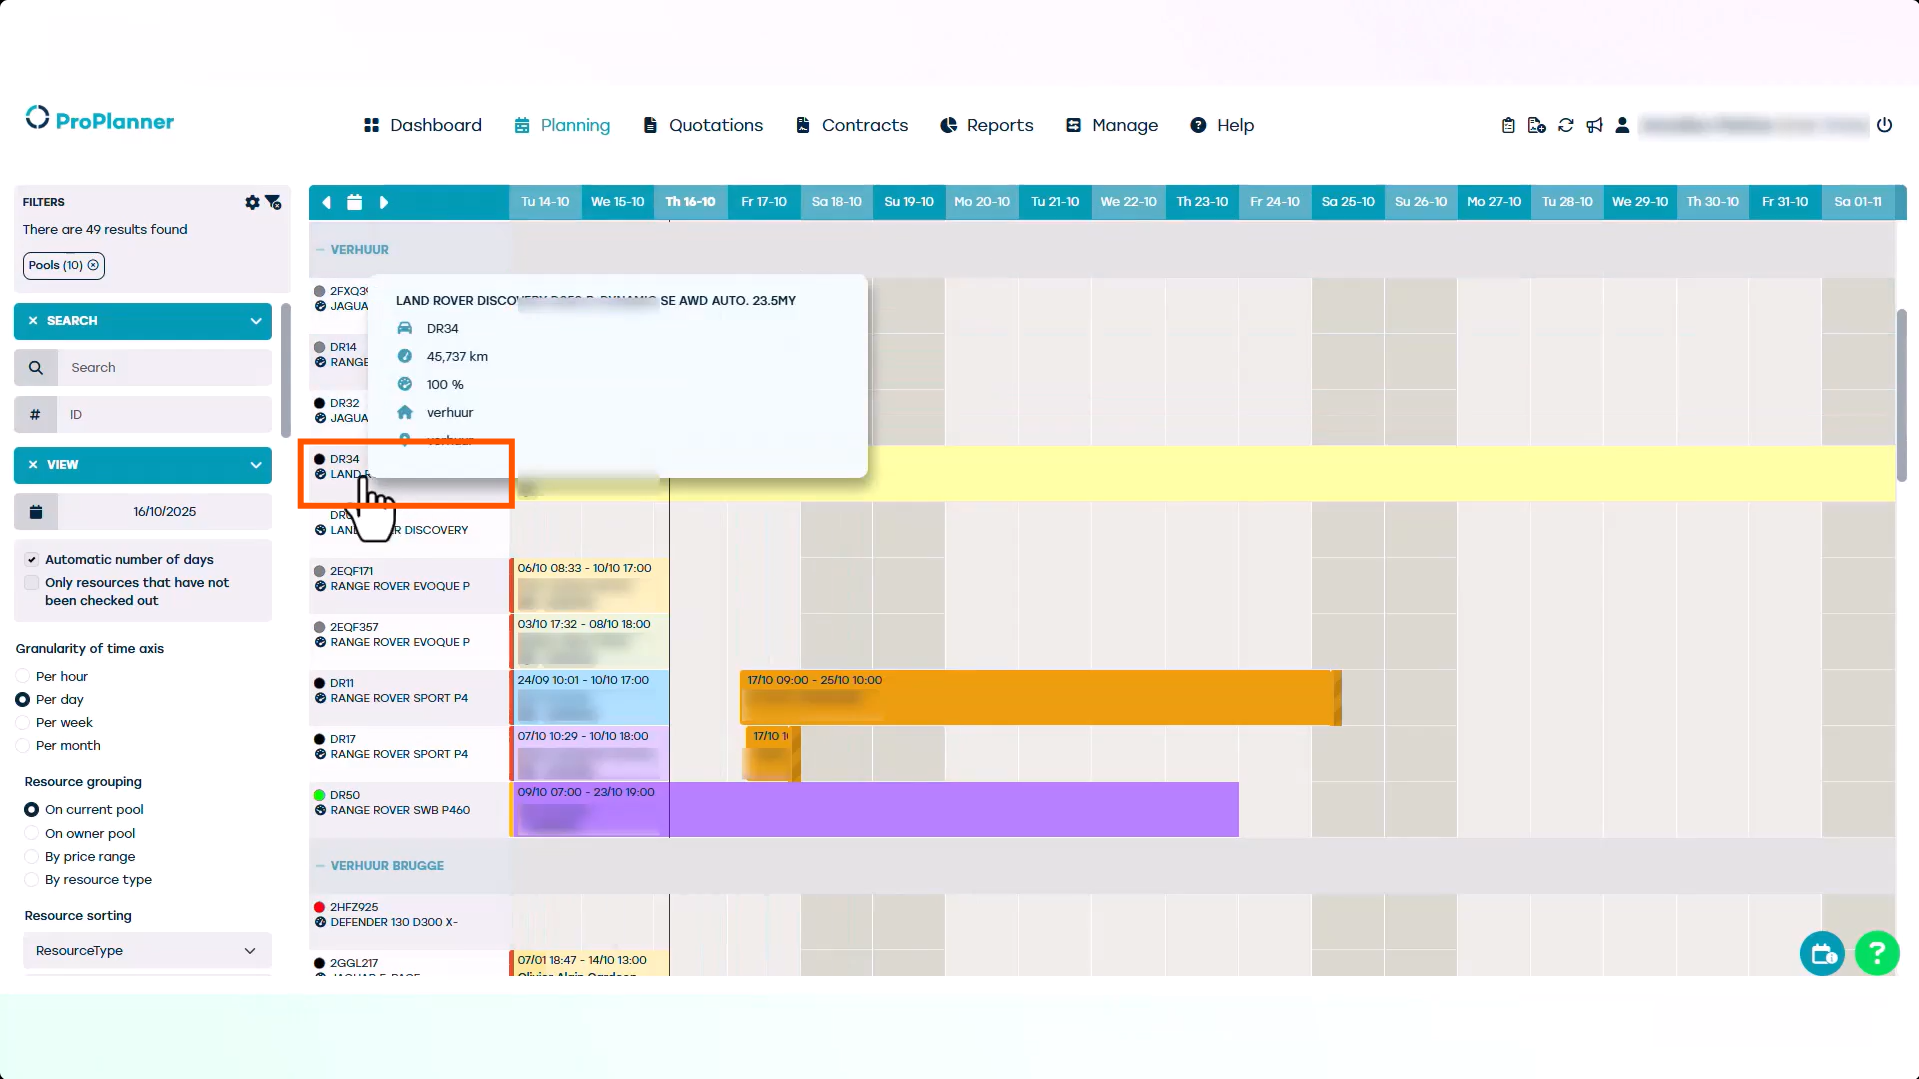
First, let's open a resource sheet for a vehicle that is available for rent. We can do this by going to the planning and clicking on one of the resources.
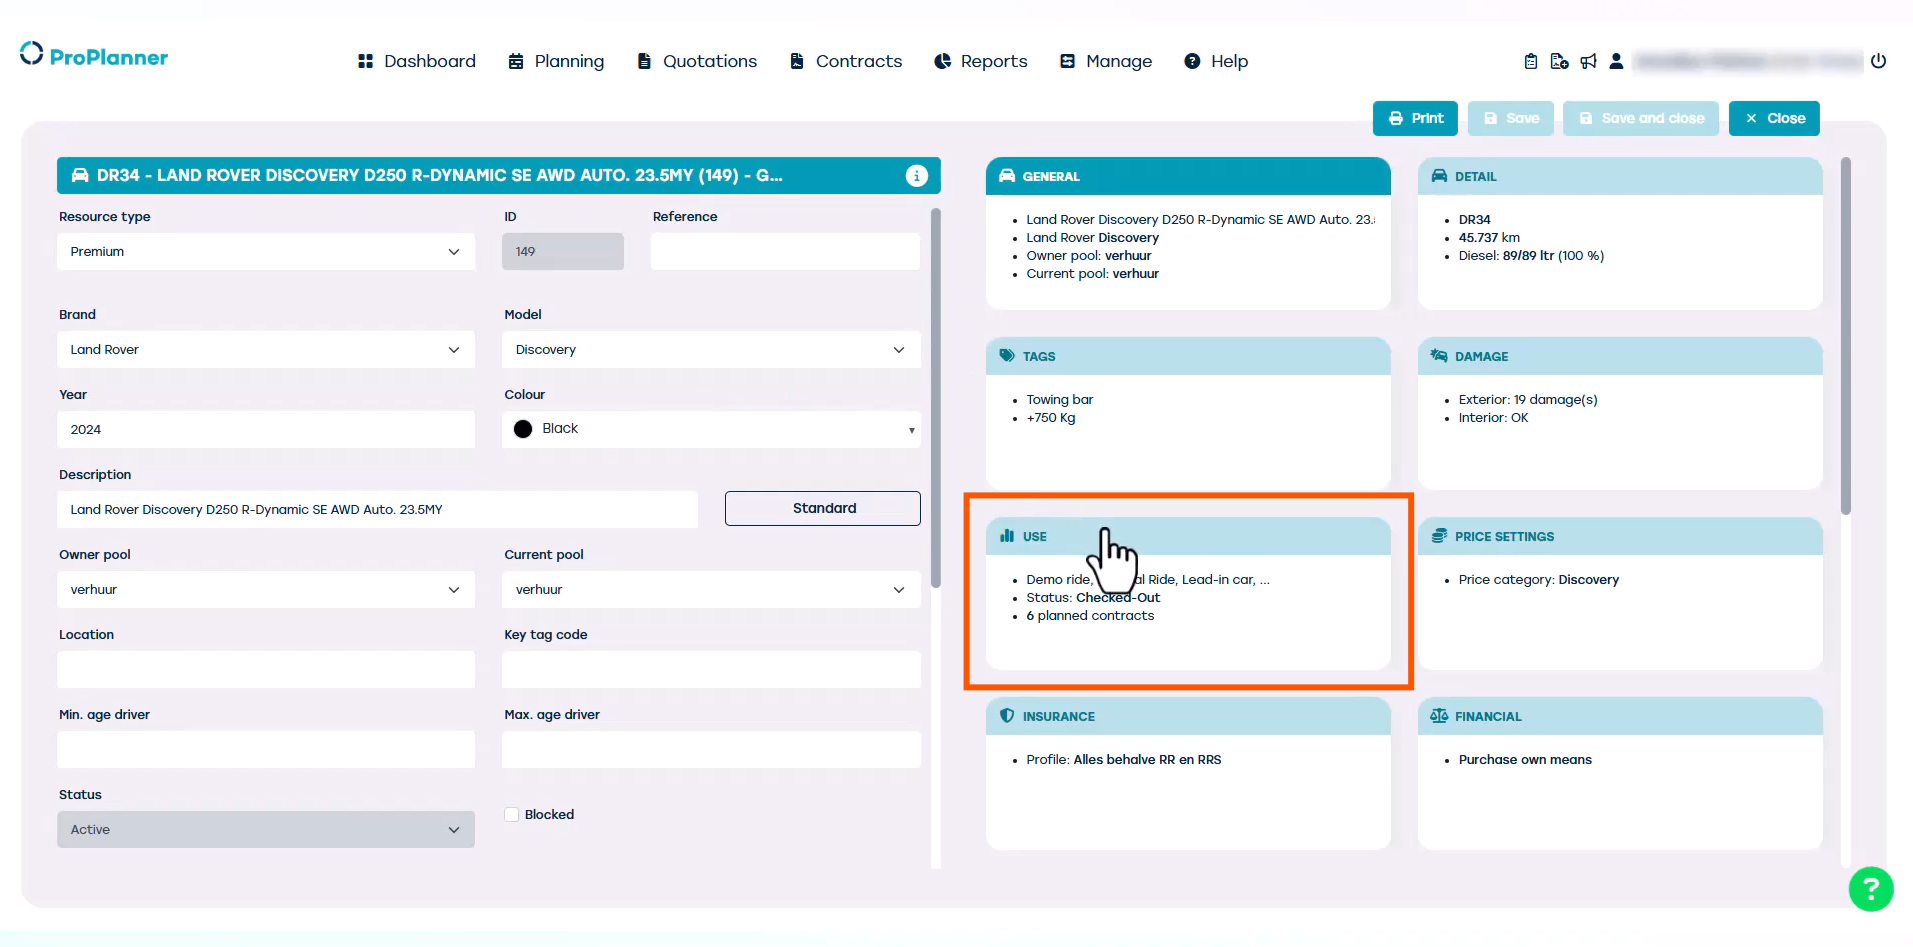
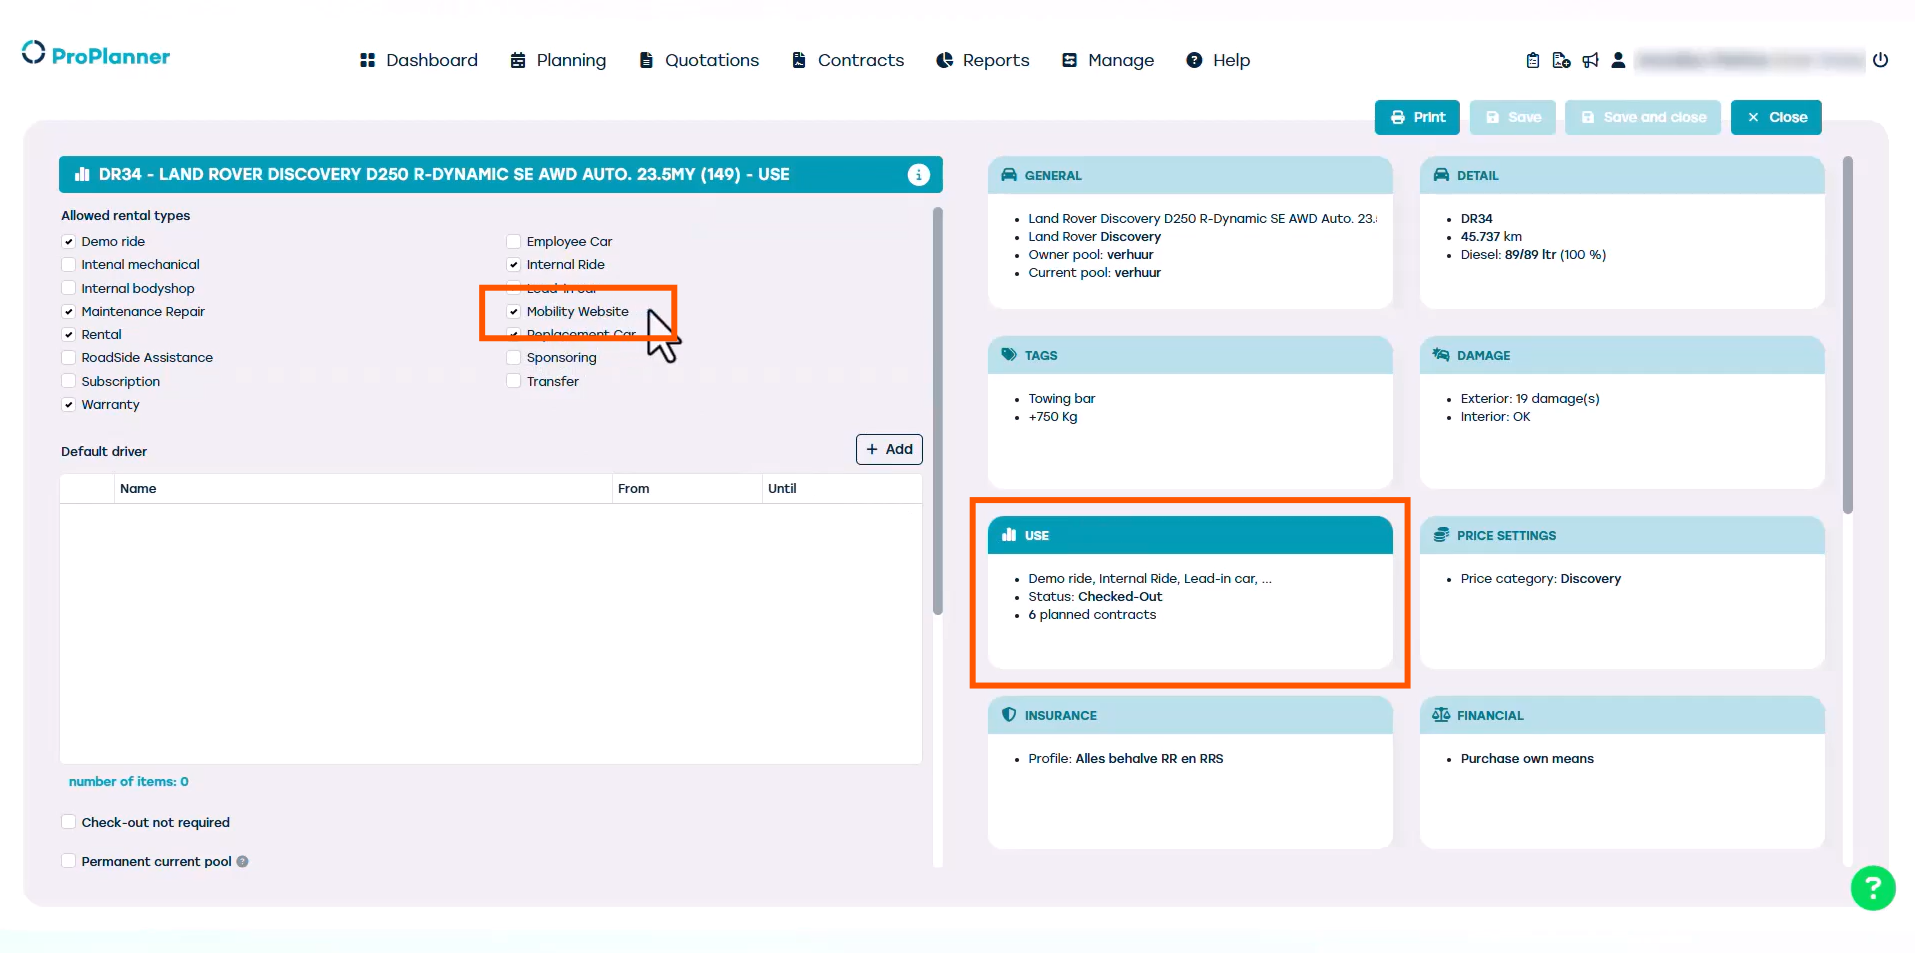
In the resource sheet, you can manage online availability in the tile 'Use'.
The box 'Mobility website' is ticked off. This means it's available online and it has its own resource category.
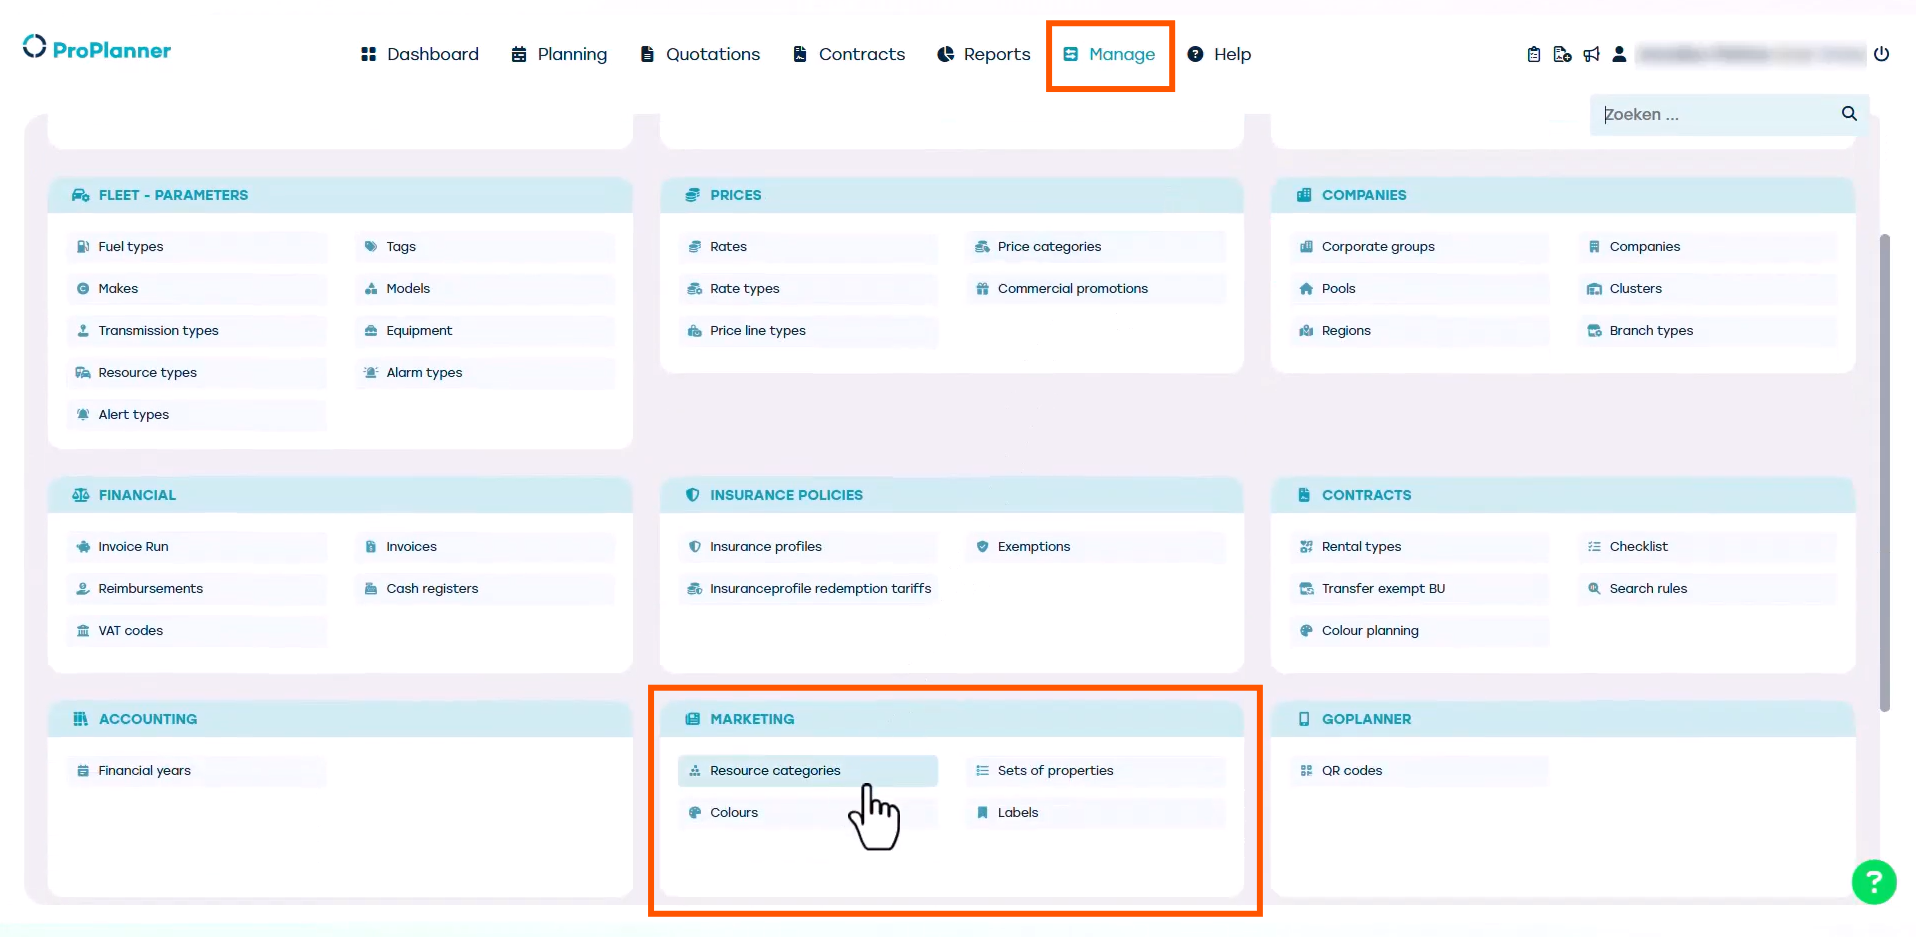
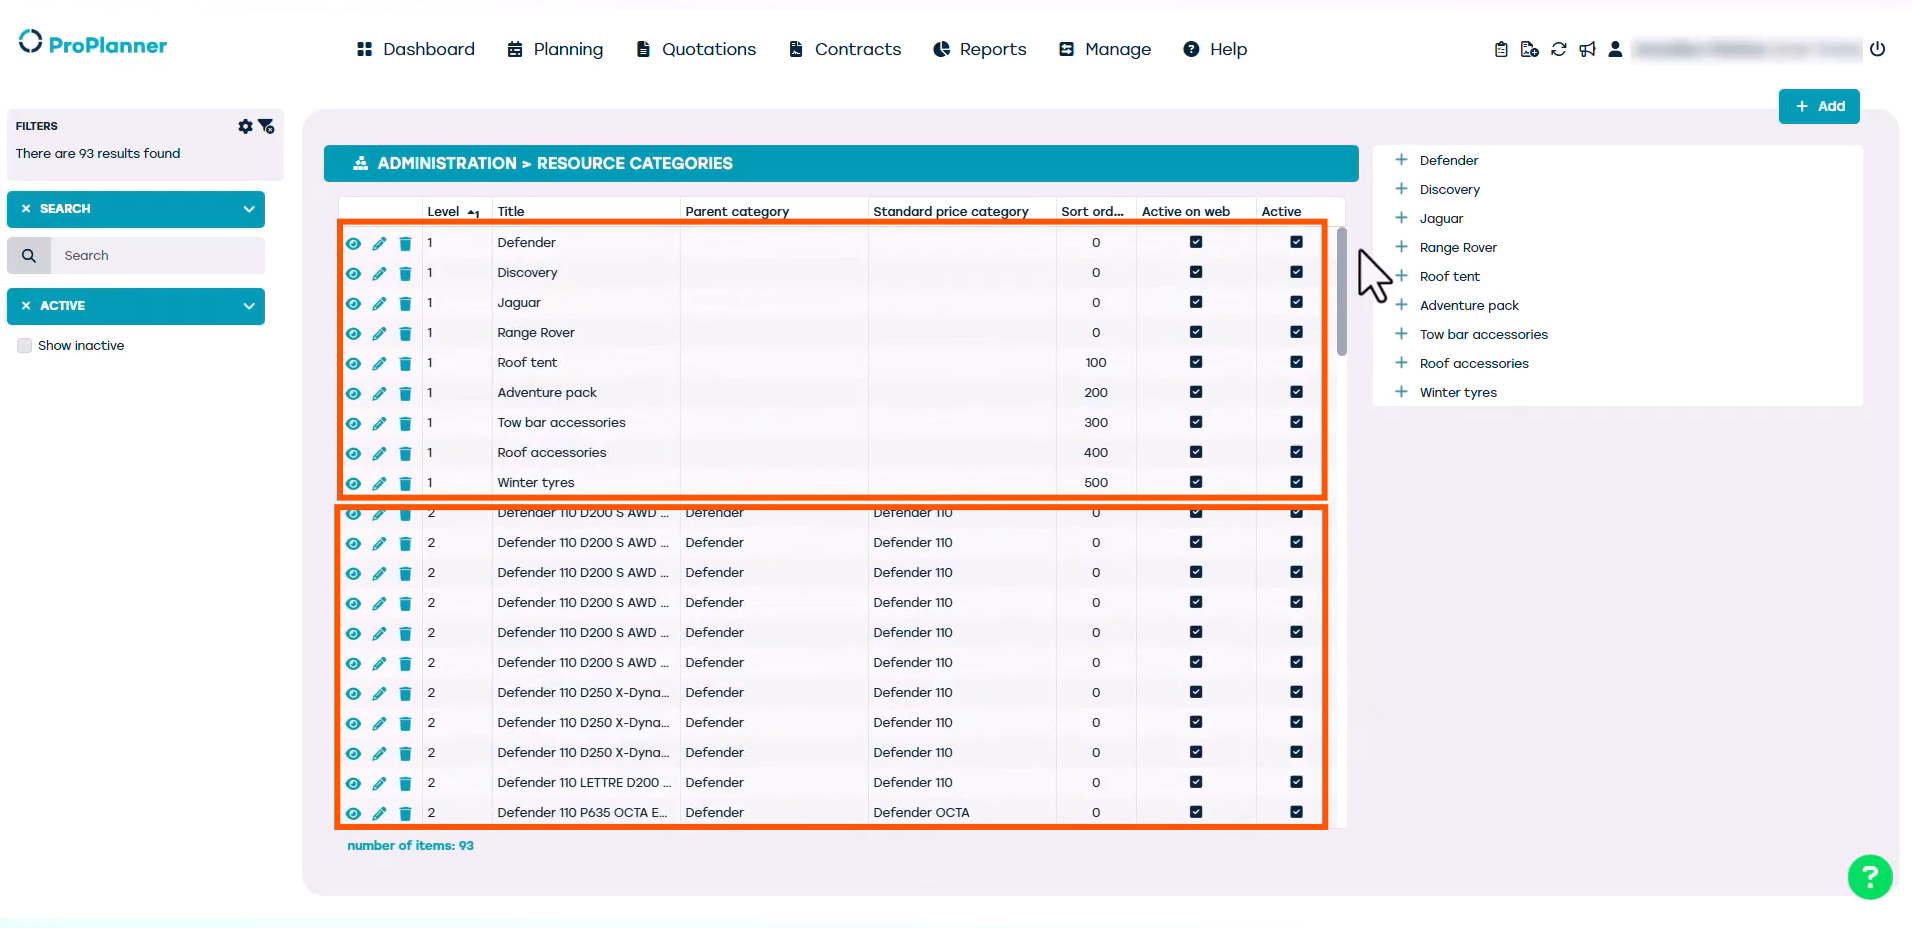
We can find the resource categories by going to 'Manage'. We find the 'Marketing' tile and click on 'Resource categories'. Here, we can find an overview of all the resource categories.
There are two levels. Level 1 shows the brands and types of accessories, and Level 2 shows the specific vehicles and accessories.
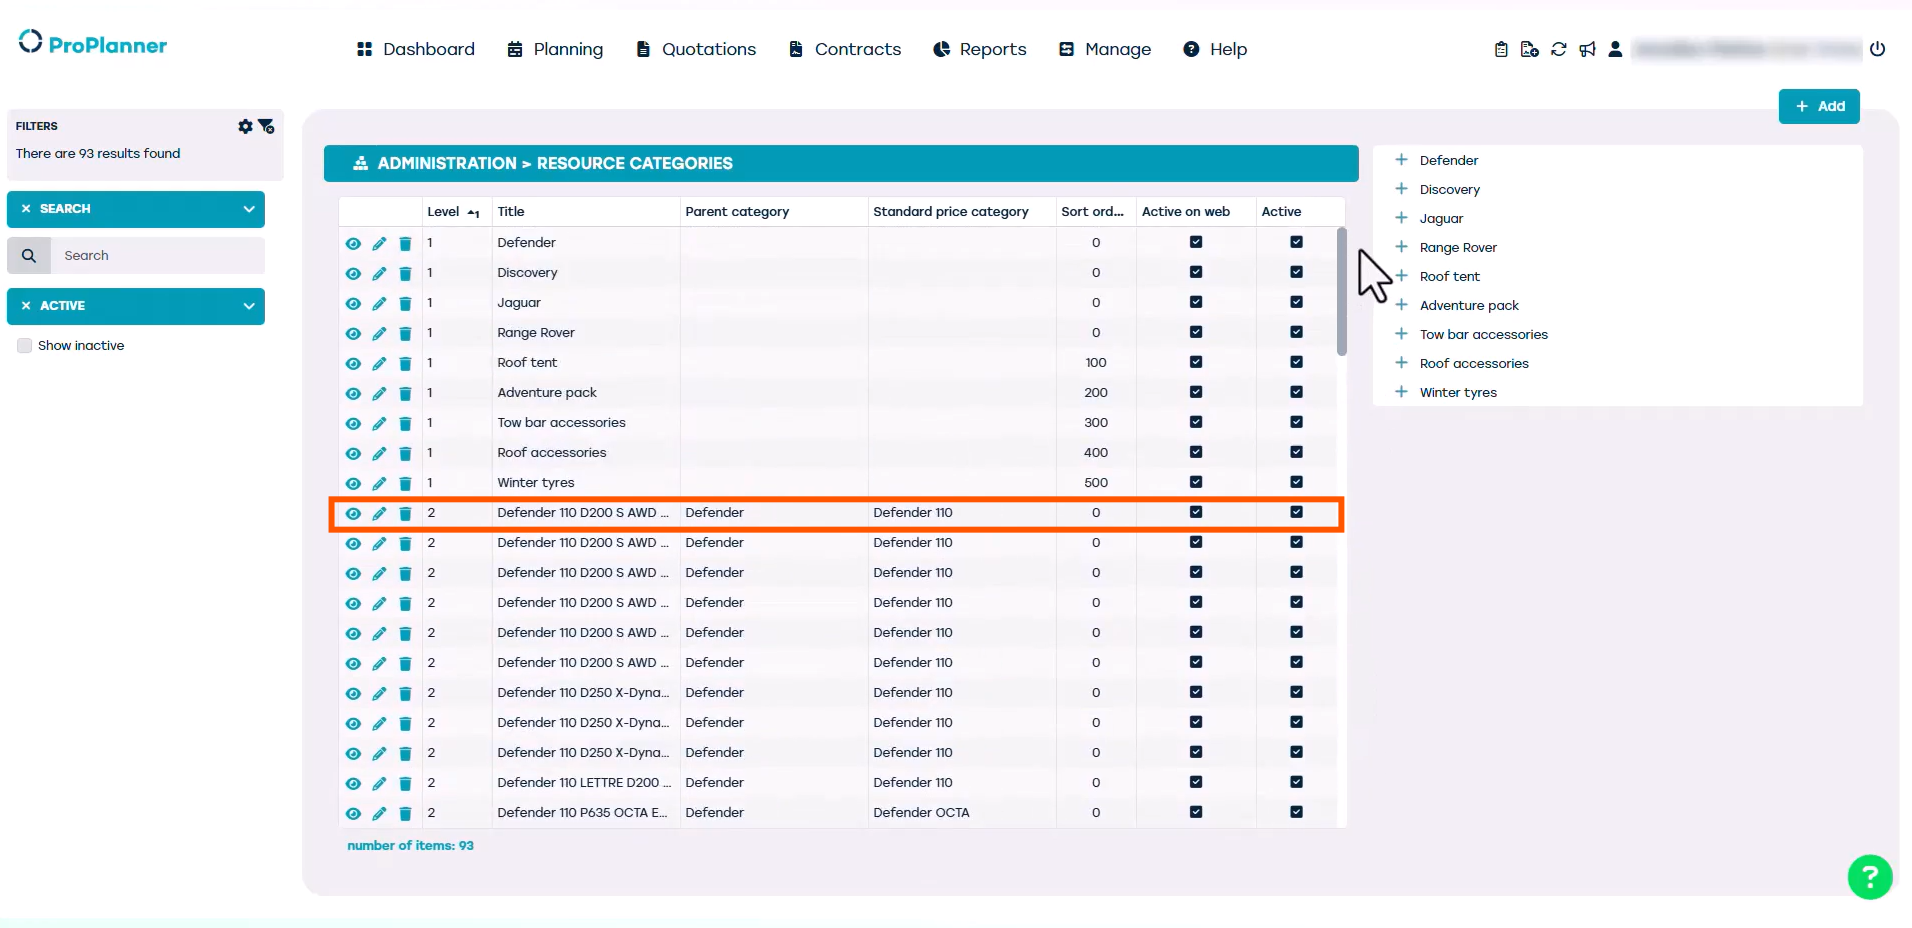
Let's take a look at the first vehicle.
On the right-hand side of the screen, there are many tiles containing information about this resource.

Most of this information can only be altered in the resource sheet itself and not in the resource category. Let's look at some of the tiles.
General: Here we can find general information on this resource category.
Translations: Here we find and manage the different translations that will be used on the website when it is available in multiple languages.
Documents: Here we see the images that are used on the website, but for JLR the images will be provided on the JLR Rent website.
Extras: Here we can link cross-selling resource categories for this vehicle, like accessories that are available to rent alongside this vehicle. How to link cross-selling resource categories is covered in another video.
Website: When the resource is available online, the 'Active on web' box will be ticked off. Deactivating the vehicle itself will automatically deactivate this resource category.
Resources: Here you can see the vehicle that is linked to this category.
Branches: The most important one to consult. Here, you can specify which locations the vehicle is available at. If multiple locations are selected, a transfer may be required before the customer can pick up the vehicle from their chosen location.
Properties / Tags / Deposit / Equipment: In these tiles you can view vehicle information used on the website.